2” Flapper Eliminator Quick Connect Valve Conversion Kit and Overflow Water Conserver – with Euro Button
2” Flapper Eliminator Quick Connect Valve Conversion Kit and Overflow Water Conserver – with Euro Button
Regular price
$31.95
Regular price
Sale price
$31.95
Unit price
per
FREE Shipping
Couldn't load pickup availability
Product Description
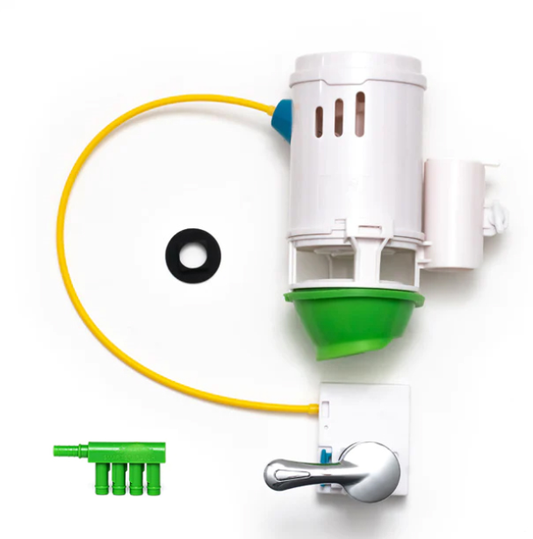
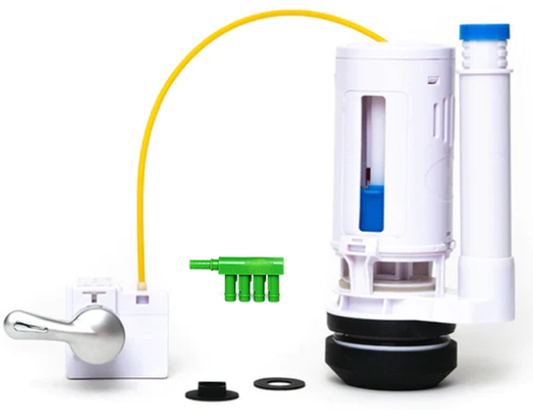
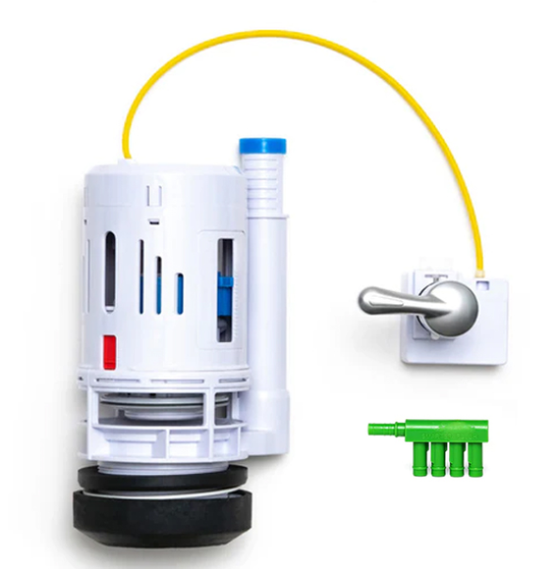
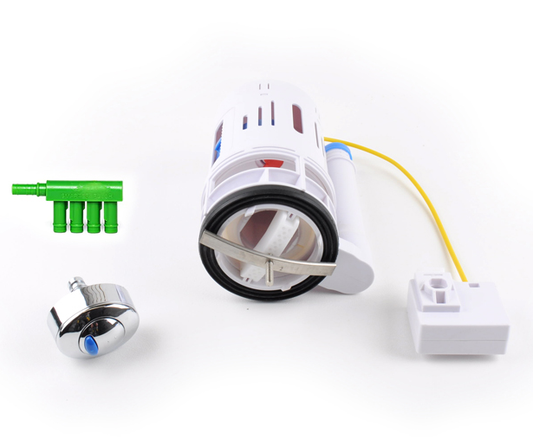
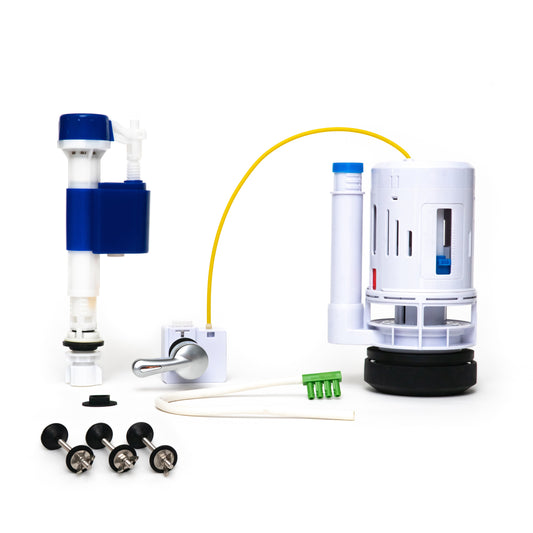
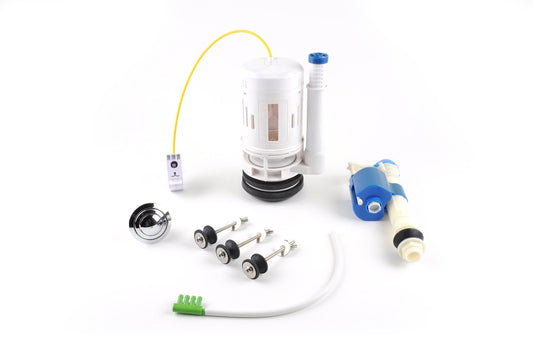
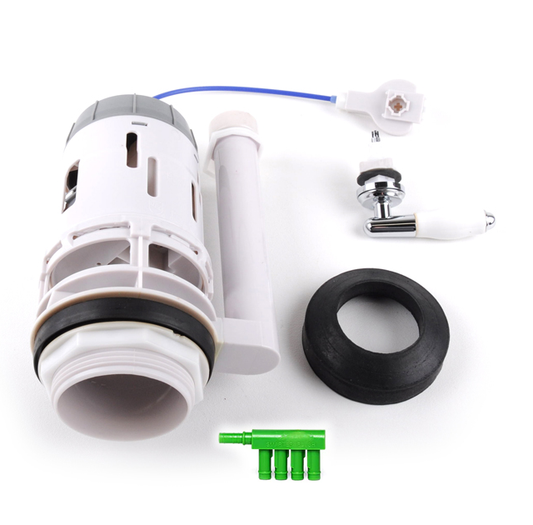
The 2” Flapper Eliminator Quick Connect Valve Conversion Kit eliminates the use of the outdated flapper and chain technology, while improving the power of the flush. Converting your toilet with our Quick Connection system is simple to install and avoids having to separate the toilet tank and bowl during installation. In addition, NO TOOLS NEEDED.
Advantages
- Eliminates the antiquated leaky flapper and troublesome chain technology
- Saves water
- Reduces maintenance
- Adjustable water volume from the toilet tank into the bowl
- Increases flushing power to reduce clogging issues
- Easy to install, NO TOOLS NEEDED and avoids separating the toilet tank and bowl during installation
- Simple to follow written installation instructions, including photographs and video on www.smarterflush.com
- Pays for itself in a few months and then continues saving water and saving money
- Avoids replacing your existing toilet when upgrading it with Smarter Flush’s 21st century products
- Lifetime warranty
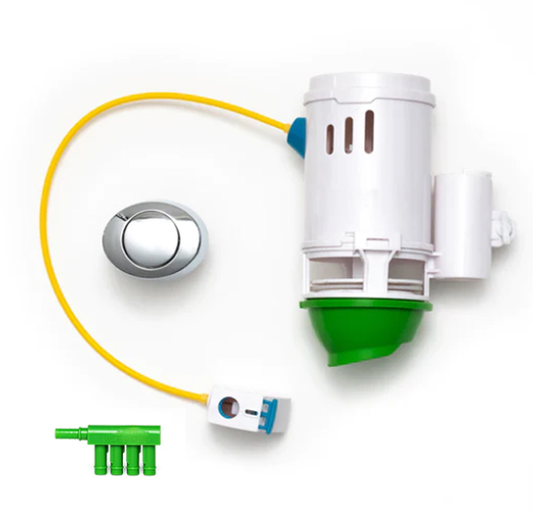
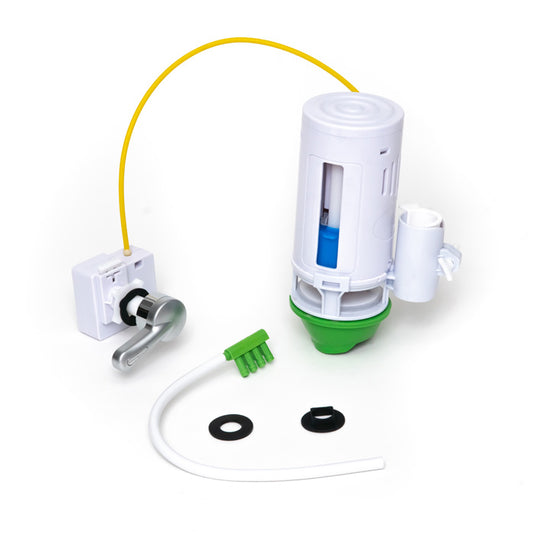
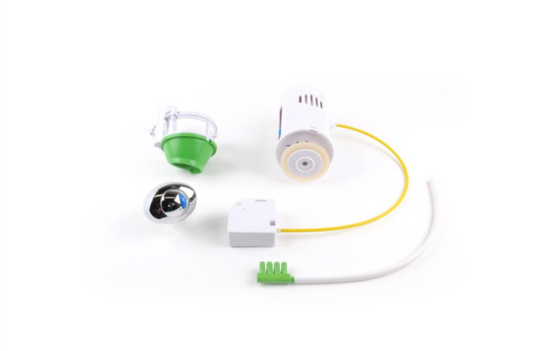
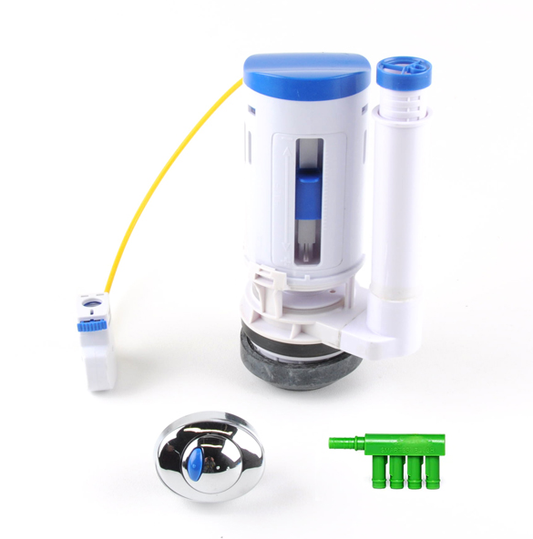
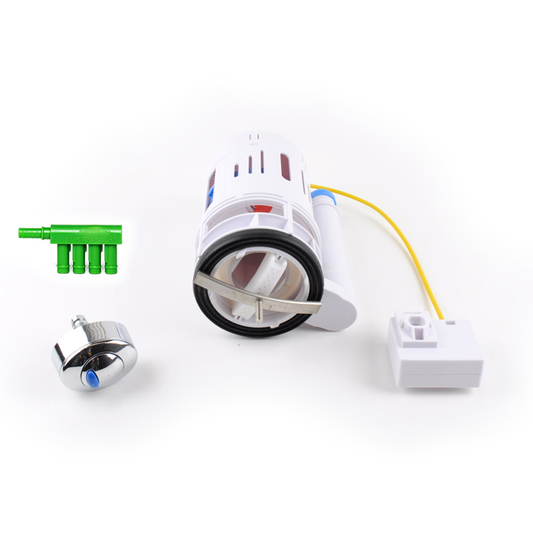
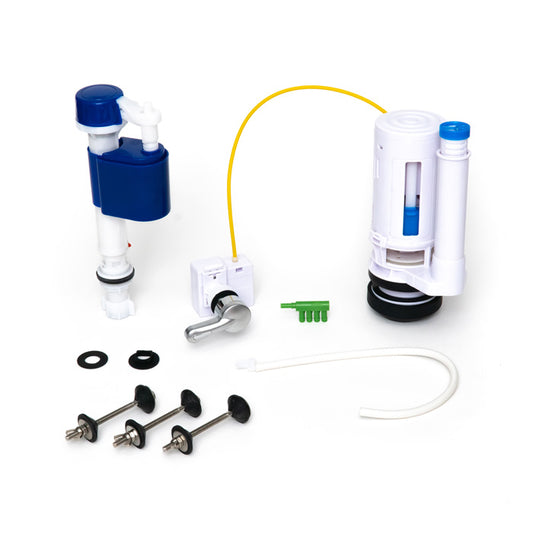
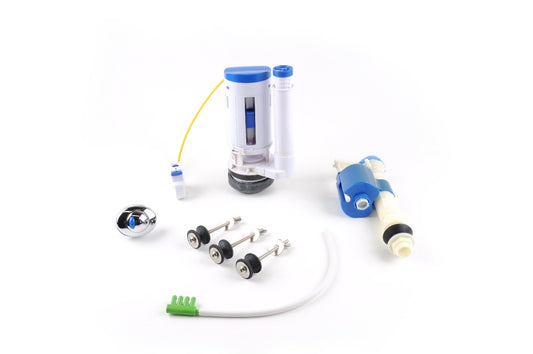
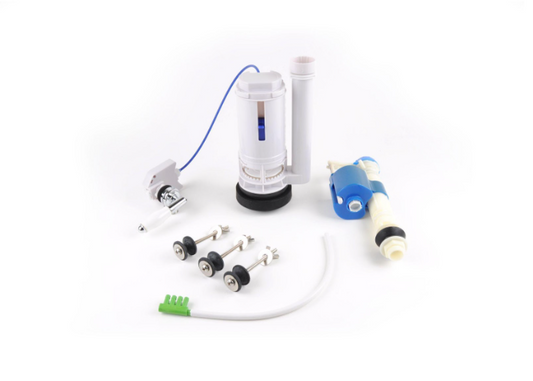
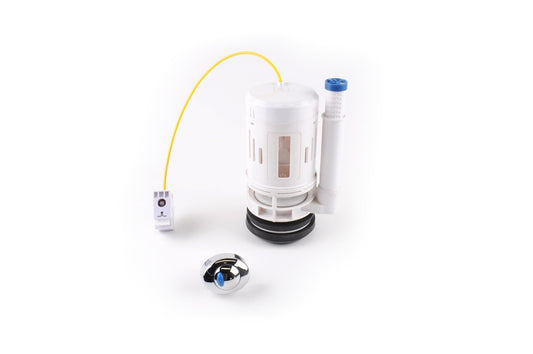
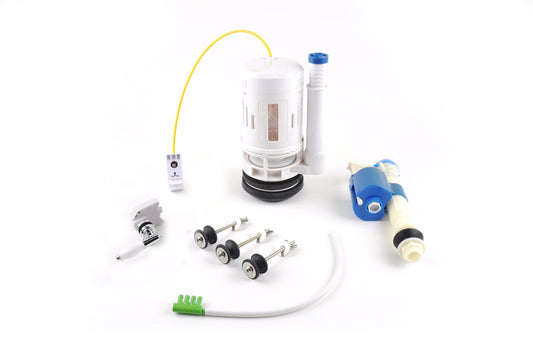
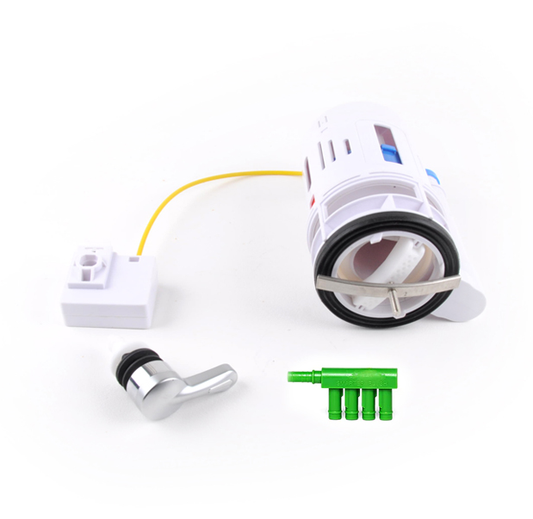
Includes
- 2” Flapper Eliminator valve
- Euro Button
- Overflow Water Conserver
- Installation instructions, including photographs
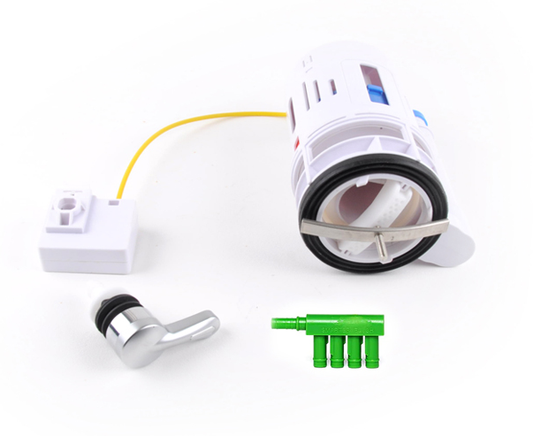
This Product Is For 2” Toilets Only. How Do You Tell The Difference Between a 2" Toilet and a 3" Toilet?
- If the discharge hole opening looks about the size of a baseball or an orange, then you have a 2" toilet.
- If the discharge hole opening looks about the size of a softball or a grapefruit, then you have a 3" toilet.
- If the toilet has a rubber flapper, measure the width of the of the flapper. A 2” toilet’s flapper will measure a little larger than 2”. A 3” toilet’s flapper will measure a little larger than 3”.

You may also like
-
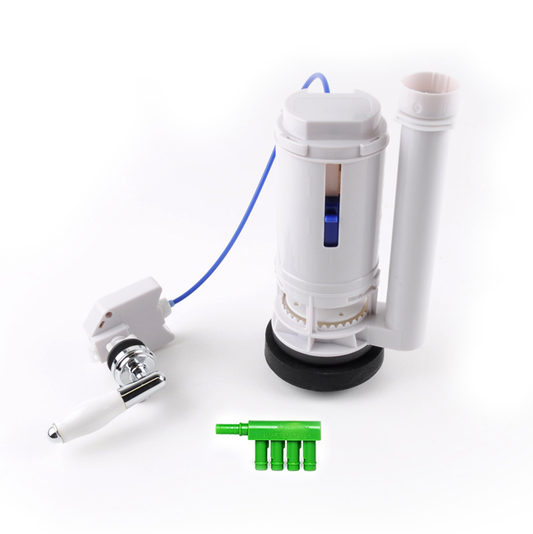
2” Flapper Eliminator Quick Connect Valve Conversion Kit and Overflow Water Conserver – with Handle
Regular price $31.95Regular priceUnit price per -
2” Flapper Eliminator Quick Connect Valve Conversion Kit and Overflow Water Conserver – with Euro Button
Regular price $31.95Regular priceUnit price per -
2” Dual Flush Quick Connect Valve Conversion Kit and Overflow Water Conserver – with Handle
Regular price $31.95Regular priceUnit price per -
2” Dual Flush Quick Connect Valve Conversion Kit and Overflow Water Conserver – with Euro Button
Regular price $31.95Regular priceUnit price per -
2” Dual Flush Valve Conversion Kit and Overflow Water Conserver – with Handle
Regular price $35.95Regular priceUnit price per -
2” Dual Flush Valve Conversion Kit and Overflow Water Conserver – with Euro Button
Regular price $0.00Regular priceUnit price per -
2” Dual Flush Valve Conversion Kit and Overflow Water Conserver – with Metal/Ceramic Handle
Regular price $39.95Regular priceUnit price per -
2” Dual Flush Valve for One Piece Toilet Conversion Kit and Overflow Water Conserver – with Handle
Regular price $0.00Regular priceUnit price per -
2” Dual Flush Valve for One Piece Toilet Conversion Kit – with Euro Button and Overflow Water Conserver
Regular price $0.00Regular priceUnit price per -
2” Dual Flush Complete Conversion Kit and Overflow Water Conserver – with Handle
Regular price $42.95Regular priceUnit price per -
2” Dual Flush Complete Conversion Kit and Overflow Water Conserver – with Euro Button
Regular price $0.00Regular priceUnit price per -
2” Dual Flush Complete Conversion Kit and Overflow Water Conserver – with Metal/Ceramic Handle
Regular price $46.95Regular priceUnit price per -
3” Dual Flush Valve Conversion Kit and Overflow Water Conserver – with Handle
Regular price $45.95Regular priceUnit price per -
3” Dual Flush Valve Conversion Kit and Overflow Water Conserver – with Euro Button
Regular price $0.00Regular priceUnit price per -
3” Dual Flush Complete Conversion Kit and Overflow Water Conserver – with Metal/Ceramic Handle
Regular price $0.00Regular priceUnit price per -
3” Dual Flush Valve for One Piece Toilet Conversion Kit and Overflow Water Conserver – with Handle
Regular price $45.95Regular priceUnit price per -
3” Dual Flush Valve for One Piece Toilet Conversion Kit and Overflow Water Conserver – with Euro Button
Regular price $45.95Regular priceUnit price per -
3” Dual Flush Complete Conversion Kit and Overflow Water Conserver – with Handle
Regular price $49.95Regular priceUnit price per -
3” Dual Flush Complete Conversion Kit and Overflow Water Conserver – with Euro Button
Regular price $0.00Regular priceUnit price per -
3” Dual Flush Valve Conversion Kit and Overflow Water Conserver – with Metal/Ceramic Handle
Regular price $0.00Regular priceUnit price per -
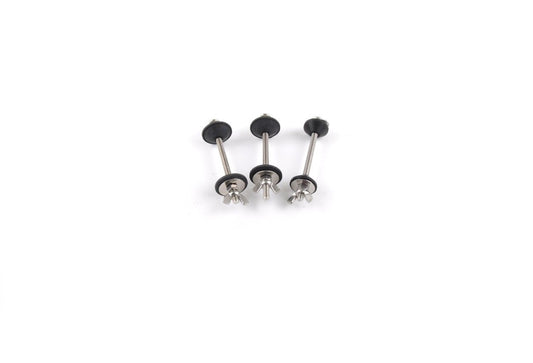
Stainless Steel Bolts, Washers & Nuts (3 in a Pack)
Regular price $0.00Regular priceUnit price per -
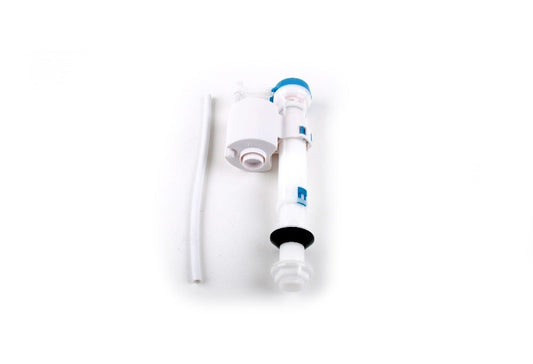
Heavy-Duty Fill Valve for Water Intake with High Performance and Easy Adjustments
Regular price $0.00Regular priceUnit price per -
Heavy-Duty Fill Valves for Water Intake with High Performance and Easy Adjustments (3 Fill Valves in Pack)
Regular price $0.00Regular priceUnit price per -
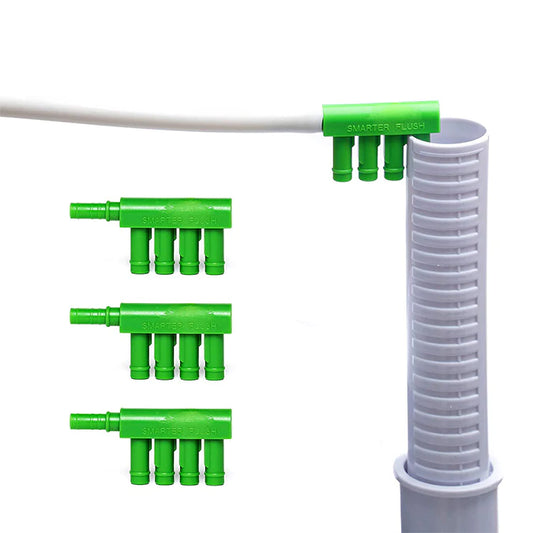
Overflow Water Conserver (Package of 3)
Regular price $13.95Regular priceUnit price per